Programme | Special session | Registration | Virtual information | About
Presenter information
Below you will find information for presenters at Going Romance 34. For Zoom tips and basics please go to this page.
If you have any questions please contact us at goingromance2020 [at] cnrs.fr
Going Romance 34 will take place live on zoom. All talks and question periods will take place in a scheduled time slot.
Slots are 30min long, with 25min for the talk and 5min for questions.
Talks can be given live or pre-recorded. (See below for pre-recording options)
If you give a live talk, with your consent, we would like to record your talk and make the video without Q&A available for 1 week after the conference.
If you choose to pre-record your talk, please upload your video on the OSF sharing service (see below) by Thursday November 19th 2020.
The pre-recorded video will be played in the slot allocated to your talk and the question period after the video will be live.
All lightning talks will be pre-recorded. After the lightening talks each poster will have its own discussion room.
Pre-recording options
The website of GLOW43 gives a range of suggestions for how to pre-record presentations: GLOW43 Instruction for Presenters.
The following reproduces their suggestions how you can pre-record your talk in mp4 format using Powerpoint and Keynote.
You can also use Zoom to record your talk.
Pre-recording with Powerpoint
- In the toolbar, select Slide Show > Record Slide Show.
- Record yourself. Note that you can pause the talk during the recording.
- Once your recording is finished, select End Show in the upper-left corner of the screen.
- Save the new slide timings.
- Go to file > Export > File Format > MP4 and choose Save
- Your talk is now saved as an .mp4 file
Pre-recording with Keynote
- In the menu bar, select Play > Record Slideshow.
- Press the record red button at the bottom of your screen. A countdown of three seconds should appear.
- To end the recording, press the same red button again.
- Go to file > Export to… > Movie.
- Select the 1024×768 format and save your file.
- To export your file to .mp4, find your file on Finder, select your file and press enter.
- You should now be able to edit the name of your file.
- add “.mp4” to the name of your file. A window should pop up asking you if you’re sure about wanting to change the extension.
- Select .mp4 and save your talk.
Pre-recording with Zoom
You can pre-record your lightening talk using Zoom, by opening a zoom meeting to practice your talk and recording it. In the final video, your face will appear on the side of the slide show.
- Open your presentation and maximise the text of your presentation so the audience can focus on the slides:
- in Adobe Acrobat Reader, choose View: Reading mode
- In PowerPoint:
- View:ribbon to hide the panel ribbon
- Click on Notes at the bottom of the screen to hide the notes panel
- Hide the slide list at the left of the window by dragging the vertical line between the list and the main screen to the left
- Note: You can choose full screen by starting the slideshow in full screen (Slide Show:Read for the top or read from the current slide) but you will not be able to see the Zoom window anymore and the video will not show your picture during the talk. In this case, start Zoom recording before activating full screen if you wish your audience to be able to see you.
- In Keynote:
- Reading:Read the slide show in a window
- You can do it in full screen, but there’s less good reasons to do that than with PowerPoint.
- Open Zoom Desktop Client and log in if needed (see Quickstart guide)
- Click on New Meeting
- Join with computer audio or external device (as headphones) if wanted
- At the bottom of the Zoom window, click Share Screen and select the window with your presentation
- In the Zoom control panel, click More: Record on this computer (see screenshot)

- Give your talk
- Click More:Stop recording in the Zoom panel to end the recording
- Click Stop Share (in red, at the bottom of the Zoom panel)
- At the bottom-right corner of Zoom window, click End, then End Meeting for All
- You should then see a window popping up indicated the video file is compiled
- The file will be saved as an mp4 in the folder where are all the zoom recordings are stored (specified in Zoom>Preferences>Recording>Local-Recording: Store my recordings at:).
- By default, the recording are in Documents/Zoom (on Windows, Mac and Linux)
- See https://support.zoom.us/hc/en-us/articles/201362473-Local-Recording for more infos
Using the OSF meeting file sharing system
Details on how to upload and manage your projects on our OSF: https://osf.io/meetings/GR34
Set up your OSF page for Going Romance
Please set up your OSF page for Going Romance 34 by Tuesday 10 Nov.
To set up a page for your contribution you only need to send a message from the email address you want to register with
- For posters: email GR34-poster [at] osf.io
- For talks: email GR34-talk [at] osf.io
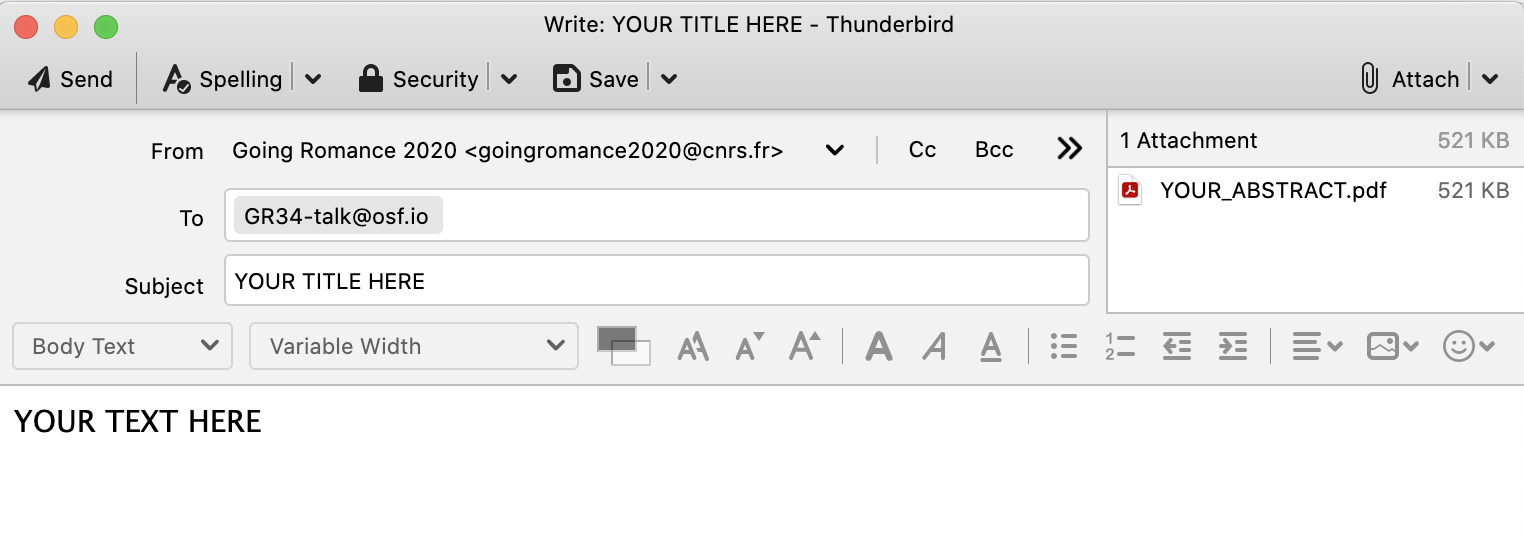
The format of the email should be as follows:
Subject: Your presentation title (as it appears in the Going Romance 34 programme)
Message body: Presentation abstract (if any, can be left empty)
Attachment: Your abstract file in PDF
Once you send the email, OSF will follow-up by sending you the permanent identifier that others can use to cite your work.
You can also login and make changes, such as uploading additional files (slides, video), to your project at that URL.
If you didn't have an OSF account, one will be created automatically and a link to set your password will be emailed to you; if you already have an OSF account, OSF will create a new project in your account.
The example email will create an OSF page that looks like this
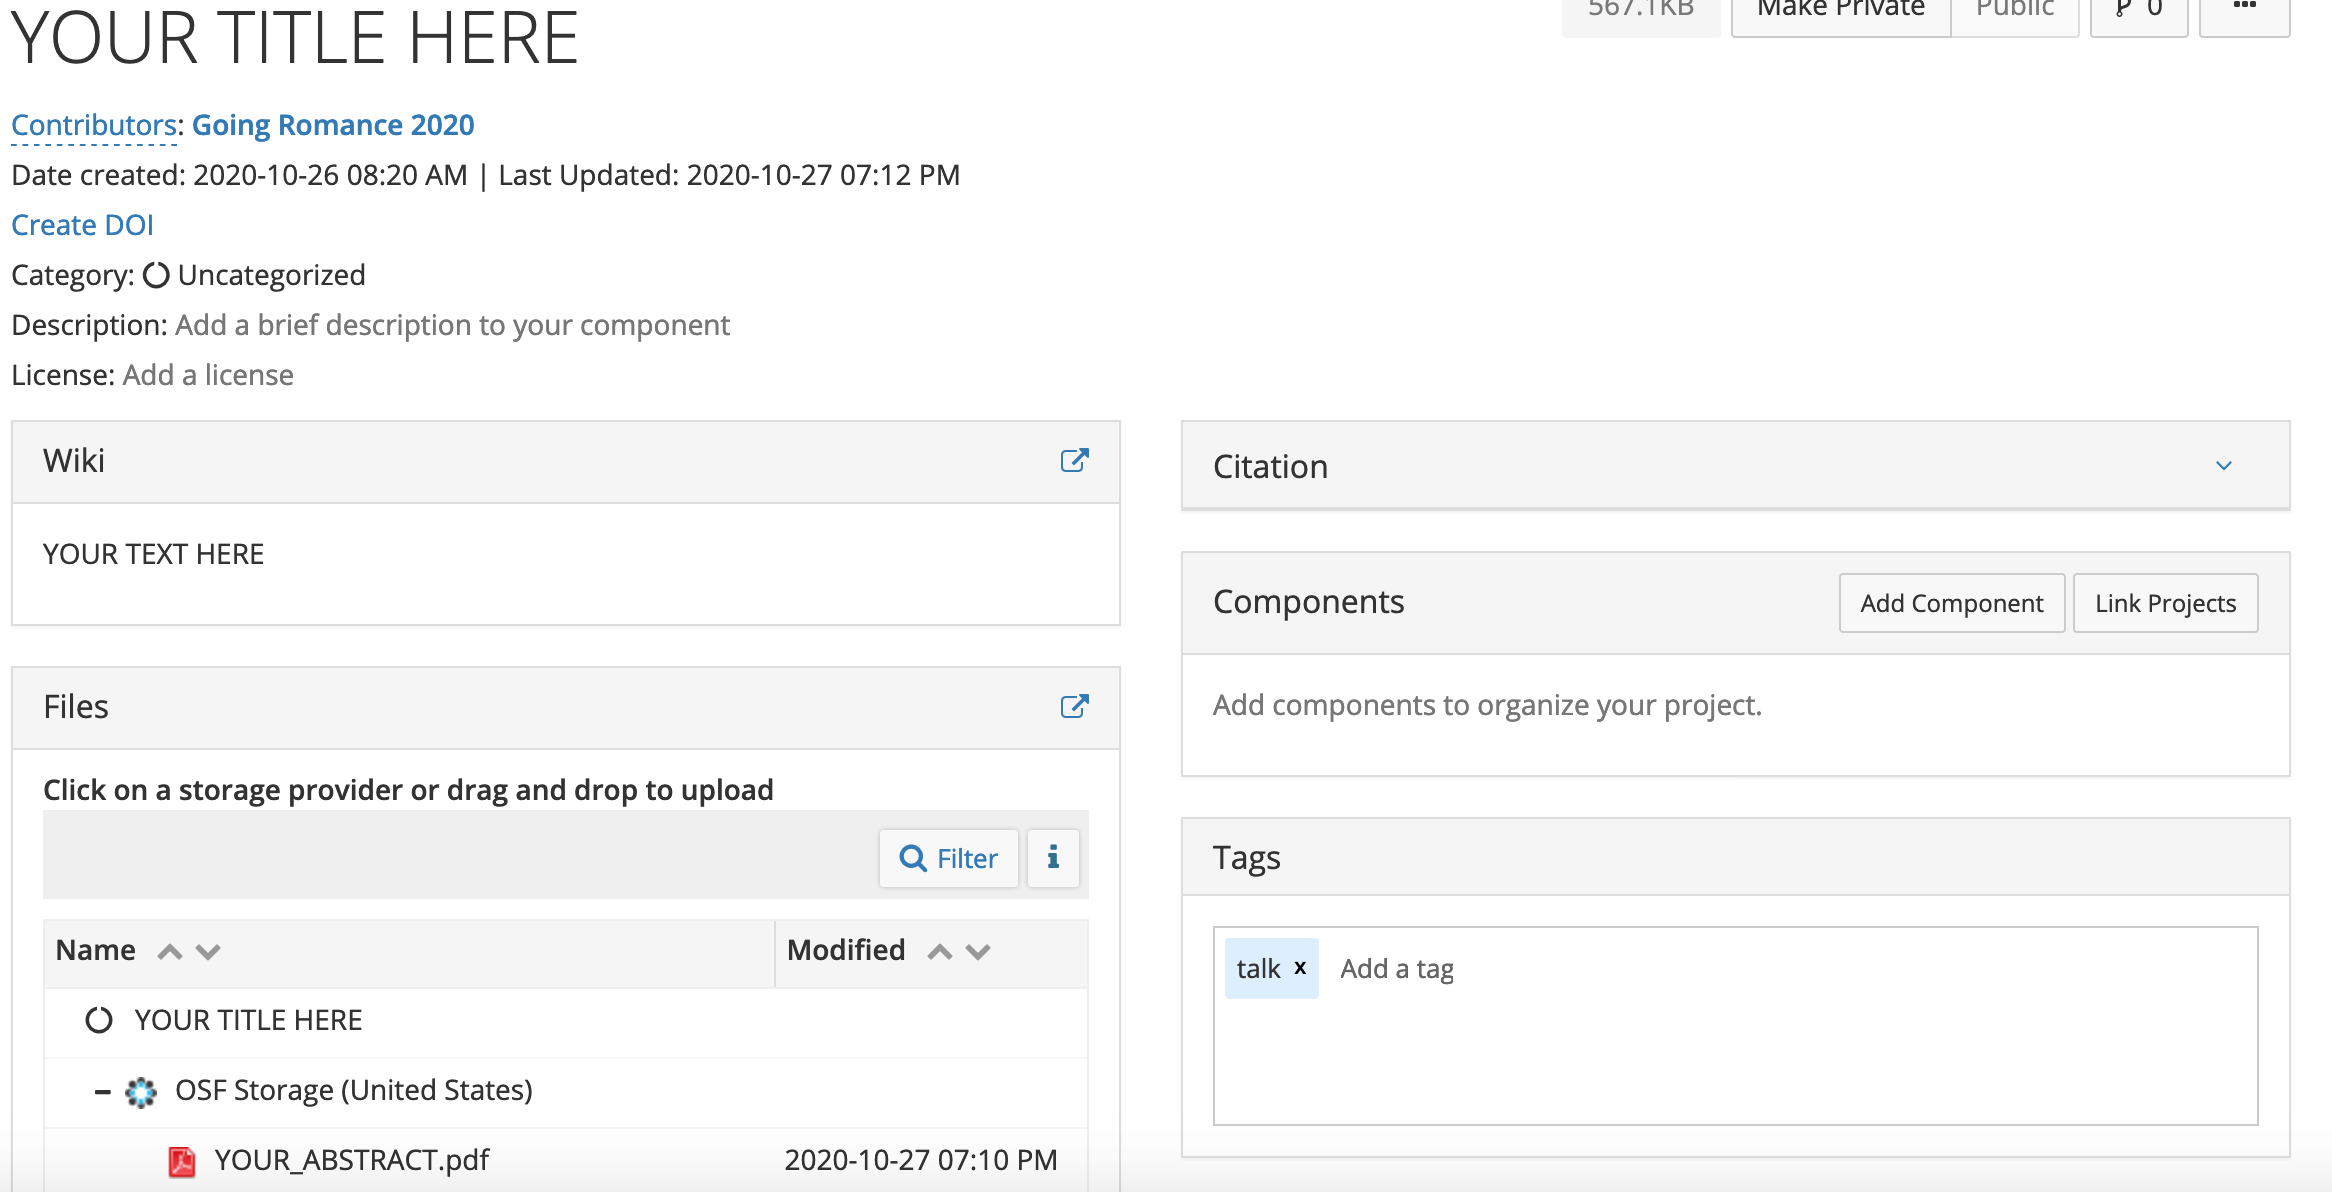
Editing your OSF Project page
When you are logged into OSF you can see the following tabs at the top

Files allows you to upload more files (slides, video). Click on OSF storage in the list or drag and drop to upload.
Wiki allows you to edit the text in the Wiki Section. Make sure you click SAVE at the bottom of the editing box to apply your changes.
Analytics shows the number of visitors and other information.
Contributors allows you to add co-authors and collaborators.
Settings allows you to change the project name, delete the project or change notification settings.